Category: DevOps

  • Check If the Binary Exists Before Installing It in Docker

    Check If the Binary Exists Before Installing It in Docker

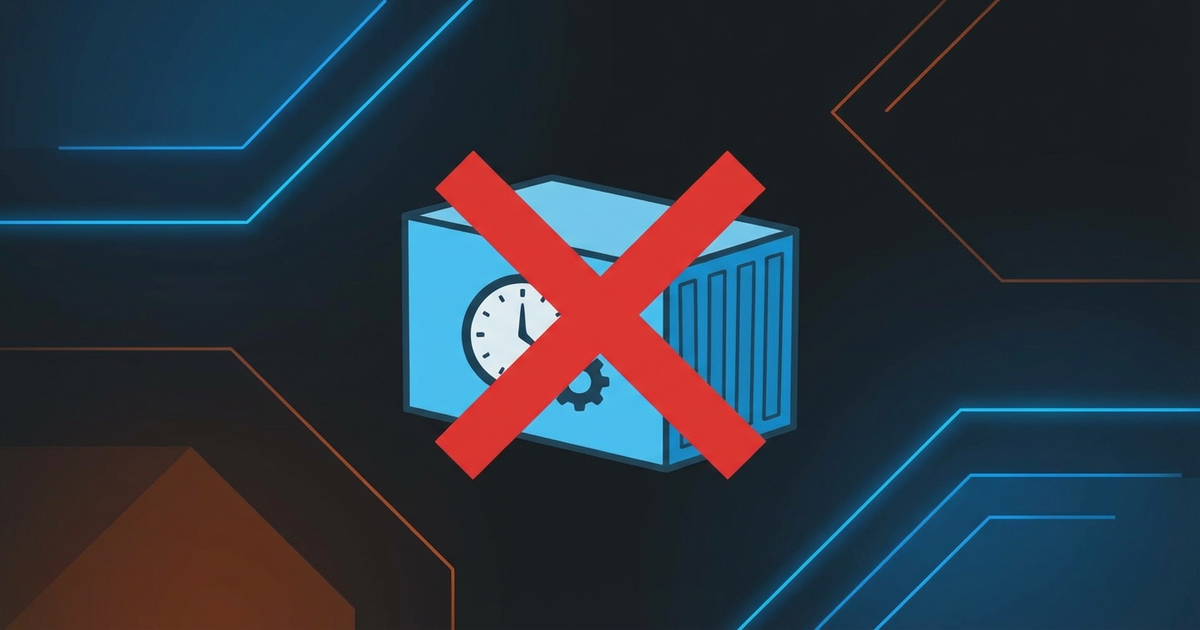
    When you’re setting up a self-hosted service in Docker, you might reach for apt-get install ffmpeg in your Dockerfile. But many Docker images already ship with it — and installing a second copy just adds build time and image bloat.

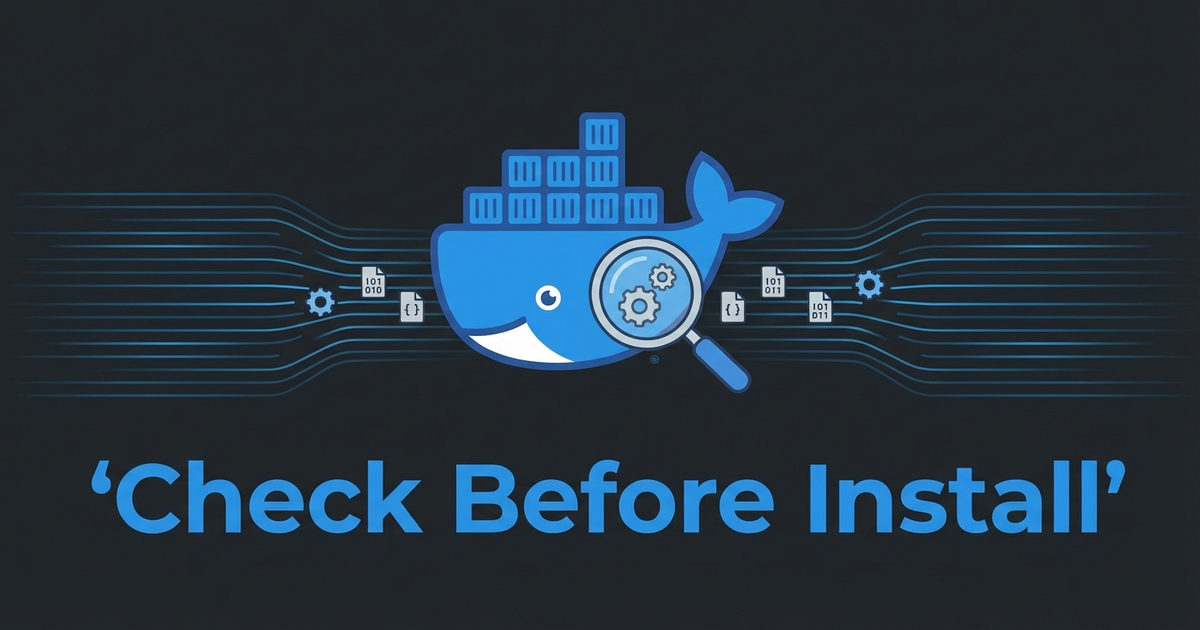
    The Pattern: Check Before Installing

    Before adding any system dependency to your Dockerfile, check if the base image already includes it:

    # Inside a running container
    which ffmpeg
    ffmpeg -version
    
    # Or in Dockerfile
    RUN which ffmpeg || apt-get update && apt-get install -y ffmpeg

    Many application images (Nextcloud, Jellyfin, various media servers) bundle ffmpeg because they need it for thumbnail generation or transcoding. Installing it again is wasteful at best and can cause version conflicts at worst.

    The Broader Lesson

    This applies to any binary dependency:

    • ImageMagick — often pre-installed in PHP images
    • curl/wget — present in most base images
    • ffprobe — ships alongside ffmpeg
    • ghostscript — common in document processing images

    The habit: which <binary> first, apt-get install second. Your Docker builds will be faster and your images smaller.

    Conditional Install in Dockerfile

    RUN if ! which ffmpeg > /dev/null 2>&1; then \
          apt-get update && apt-get install -y --no-install-recommends ffmpeg \
          && rm -rf /var/lib/apt/lists/*; \
        fi

    One line of defense against unnecessary bloat. Check before you install.

  • Supervisord Running as Root in Docker Is Actually Fine

    Supervisord Running as Root in Docker Is Actually Fine

    You see supervisord running as root inside your Docker container and your security instinct screams. But hold on — this is actually the correct pattern.

    The Misconception

    Running processes as root in containers is generally bad practice. But supervisord is a process manager — it needs root to do its job properly:

    • It spawns and manages child processes
    • It needs to set the user directive on each child
    • It handles signal forwarding, restarts, and logging

    The Key Insight

    Supervisord runs as root, but your actual application processes don’t have to. Each program block can specify its own user:

    [program:app]
    command=/usr/bin/php artisan serve
    user=www-data
    autostart=true
    autorestart=true
    
    [program:worker]
    command=/usr/bin/php artisan queue:work
    user=www-data
    autostart=true
    autorestart=true

    The parent (supervisord) runs privileged so it can manage the children. The children run unprivileged. This is the same model as systemd, init, or any other process manager on Linux.

    When to Worry

    If your supervisord config has programs running without a user directive, they inherit root. That’s the actual security risk — not supervisord itself. Always explicitly set user= on every program block.

    The pattern is simple: privileged parent, unprivileged children. Don’t fight it — just make sure the children are locked down.

  • GNU Parallel for Real-Time Log Prefixing in Docker

    GNU Parallel for Real-Time Log Prefixing in Docker

    Running multiple background processes in a Docker container and trying to figure out which one is logging what? If you’re piping through sed for prefixes, stop. There’s a one-liner that handles this properly.

    The Problem

    You have a container running two webpack watchers (or any two long-running processes). The logs are interleaved and you can’t tell which output came from where:

    npm run hot &
    npm run watch:admin &
    wait

    Every line looks the same in docker logs. When something breaks, good luck figuring out which process errored.

    The sed Approach (Don’t Do This)

    First instinct is usually piping through sed:

    npm run hot 2>&1 | sed 's/^/[HOT] /' &
    npm run watch:admin 2>&1 | sed 's/^/[ADMIN] /' &
    wait

    This looks clean but has a nasty buffering problem. Pipes buffer output in chunks (typically 4KB), so you won’t see lines in real-time. You’ll get nothing for minutes, then a wall of prefixed text all at once. Not useful for watching builds.

    GNU Parallel to the Rescue

    GNU Parallel has two flags that solve this perfectly:

    parallel --tag --line-buffer ::: "npm run hot" "npm run watch:admin"

    --tag prefixes every output line with the command that produced it. --line-buffer flushes output line-by-line instead of waiting for the process to finish. Together, you get real-time prefixed output with zero buffering issues:

    npm run hot        webpack compiled successfully in 2847 ms
    npm run watch:admin  webpack compiled successfully in 1923 ms
    npm run hot        webpack compiled successfully in 412 ms

    In Docker

    Your Dockerfile needs GNU Parallel installed (apt-get install parallel or apk add parallel), then your compose command becomes:

    command:
      - /bin/bash
      - -c
      - |
        npm install
        parallel --tag --line-buffer ::: "npm run hot" "npm run watch:admin"

    No background processes, no wait, no buffering hacks. Parallel manages both processes and exits if either one dies.

    Why –line-buffer Matters

    Without --line-buffer, GNU Parallel groups output by job — it waits until a job finishes before showing its output. That’s fine for batch processing but terrible for long-running watchers. The --line-buffer flag trades a tiny bit of CPU for real-time line-by-line output with proper prefixing. For dev tooling, that tradeoff is always worth it.

  • Ollama Model Tags: Don’t Overwrite Your Base Models

    Ollama Model Tags: Don’t Overwrite Your Base Models

    Here’s a trap that’ll bite you exactly once with Ollama: if you run ollama create using the same name as an existing model, it overwrites the original. No warning, no confirmation, just gone.

    The Scenario

    Say you pulled mistral:7b-instruct and want to customize it with a new system prompt or different parameters. You write a Modelfile:

    FROM mistral:7b-instruct
    SYSTEM "You are a code reviewer..."
    PARAMETER temperature 0.3

    Then you run:

    ollama create mistral:7b-instruct -f Modelfile

    Congratulations, you just replaced your base model. The original mistral:7b-instruct is now your customized version. Want the vanilla one back? Time to re-pull it.

    The Fix

    Always use a distinct tag name for your customizations:

    # Copy the base first (shares blobs, no extra disk)
    ollama cp mistral:7b-instruct mistral:7b-instruct-base
    
    # Create your custom version with a NEW name
    ollama create mistral:7b-code-reviewer -f Modelfile

    The ollama cp command shares the underlying blobs with the original, so it doesn’t double your disk usage. It’s basically free insurance.

    Naming Convention That Works

    I’ve settled on this pattern: base-model:size-purpose

    ollama list
    # mistral:7b-instruct          4.4 GB  (original)
    # mistral:7b-code-reviewer     4.4 GB  (custom)
    # mistral:7b-instruct-base     4.4 GB  (safety copy)
    # qwen2.5-coder:7b             4.7 GB  (original)

    The sizes look alarming but remember: copies share blobs. Actual disk usage is much lower than the sum suggests.

    Why This Matters

    When you’re iterating on Modelfile configs (tweaking temperature, system prompts, context length), you’ll run ollama create dozens of times. One slip with the wrong name and you’re re-downloading 4+ GB. Use distinct tags from the start and you’ll never have that problem.

  • Why Your Docker Cron Job Fails Silently

    Why Your Docker Cron Job Fails Silently

    You set up a cron job inside your Docker container. The logs show it firing. But nothing happens. No errors, no output, no evidence it actually ran. Welcome to the world of silent cron failures.

    The Setup

    You add a cron job to your container — maybe a periodic cleanup task, a file scan, or a scheduled PHP script:

    */15 * * * * php /var/www/html/artisan schedule:run >> /proc/1/fd/1 2>&1

    Docker logs show the cron daemon triggering the job on schedule. You see lines like:

    crond: USER www-data pid 7590 cmd php /var/www/html/artisan schedule:run >> /proc/1/fd/1 2>&1

    But the actual command never executes. No output. No errors in your app logs. Nothing.

    Two Silent Killers

    1. The /proc/1/fd/1 Permission Trap

    Redirecting output to /proc/1/fd/1 (PID 1’s stdout) is a common Docker pattern — it routes cron output to docker logs. But if your cron job runs as a non-root user (like www-data), that user can’t write to root’s file descriptors:

    /bin/bash: line 1: /proc/1/fd/1: Permission denied

    The cron daemon fires the job, the redirect fails, and the actual command never runs. The fix? Write to a file the user owns, or use /dev/stdout if your container setup allows it:

    */15 * * * * php /var/www/html/artisan schedule:run >> /tmp/cron.log 2>&1

    2. Busybox crond and File Ownership

    If you’re on Alpine Linux (common in Docker), you’re running busybox’s crond, not the full cron daemon. Busybox crond is extremely picky about crontab file ownership and permissions.

    If you modify the crontab file directly (instead of using the crontab command), you can easily end up with wrong ownership:

    $ ls -la /var/spool/cron/crontabs/www-data
    -rw-r--r-- 1 root root 117 Jan 25 00:17 www-data

    Busybox crond expects the crontab file to be owned by the user it belongs to. If www-data‘s crontab is owned by root, crond silently ignores it — no error, no warning, just… nothing.

    The fix:

    chown www-data:www-data /var/spool/cron/crontabs/www-data
    chmod 600 /var/spool/cron/crontabs/www-data

    The Debugging Checklist

    Next time your Docker cron job “runs” but doesn’t actually do anything:

    1. Check output redirects — can the cron user actually write to the target?
    2. Check crontab ownership — does the file belong to the user, not root?
    3. Check permissions — crontab files should be 600
    4. Check which crondbusybox crond vs crond have different behaviors
    5. Test the command manually as the cron user: su -s /bin/sh www-data -c "your-command"

    Silent failures are the worst kind of failures. At least now you know where to look.

  • Docker Background Processes with the & wait Pattern

    Docker Background Processes with the & wait Pattern

    Docker containers expect one process. PID 1 runs, and when it exits, the container stops. But what if you need two processes running simultaneously — say a dev server and a background watcher, or a web server and a cron daemon?

    The Naive Approach

    You might try chaining commands:

    command: '/bin/bash -c "process-a && process-b"'

    This runs process-a, waits for it to finish, then runs process-b. Not parallel — sequential. And if process-a runs forever (like a dev server), process-b never starts.

    The & wait Pattern

    Background the processes with &, then wait for all of them:

    command: '/bin/bash -c "process-a & process-b & wait"'

    Here’s what happens:

    1. process-a & — starts in the background
    2. process-b & — starts in the background
    3. wait — blocks until ALL background processes exit

    The wait is critical. Without it, bash reaches the end of the command string, exits, and Docker kills the container because PID 1 died.

    Real-World Example

    Running two webpack dev servers on different ports for separate frontend bundles:

    services:
      node:
        build: .docker/builds/node
        command: '/bin/bash -c "npm install && PORT=8080 npm run dev & PORT=8081 npm run dev:widgets & wait"'
        ports:
          - "8080:8080"
          - "8081:8081"
        restart: always

    Both dev servers run simultaneously in one container. If either crashes, wait still blocks on the surviving process, keeping the container alive.

    When to Use This vs Separate Containers

    Use & wait when:

    • Processes share the same filesystem and need the same volumes
    • They’re tightly coupled (same codebase, same dependencies)
    • You want simpler compose files for dev environments

    Use separate containers when:

    • Processes have different resource needs or scaling requirements
    • You need independent health checks or restart policies
    • You’re running in production (one process per container is the Docker way)

    Gotcha: Signal Handling

    When Docker sends SIGTERM to stop the container, it goes to PID 1 (bash). By default, bash doesn’t forward signals to background processes. Add a trap if you need graceful shutdown:

    command: '/bin/bash -c "trap \"kill 0\" SIGTERM; process-a & process-b & wait"'

    kill 0 sends the signal to the entire process group, cleanly shutting down all backgrounded processes.

  • Use Playwright to Reverse-Engineer Undocumented APIs

    Use Playwright to Reverse-Engineer Undocumented APIs

    Need to integrate with an API that has no documentation? Use Playwright to capture exactly what the browser sends, then replicate it.

    The Approach

    Open the web application in Playwright, perform the action you want to automate, and capture every network request:

    const { chromium } = require('playwright');
    
    const browser = await chromium.launch({ headless: false });
    const page = await browser.newPage();
    
    // Capture all requests
    page.on('request', request => {
        console.log(JSON.stringify({
            url: request.url(),
            method: request.method(),
            headers: request.headers(),
            postData: request.postData(),
        }, null, 2));
    });
    
    await page.goto('https://app.example.com/login');
    // Perform login, navigate, trigger the action you need

    What You Get

    Every header, every cookie, every POST body — exactly as the browser sends them. Copy these into your HTTP client (Guzzle, cURL, whatever) and you have a working integration.

    Pro Tips

    • Copy ALL headers — APIs sometimes check Sec-Ch-Ua, Priority, and other browser-specific headers
    • Watch the auth flow — OAuth redirects, token exchanges, cookie chains are all visible
    • Record, don’t guess — Even “documented” APIs sometimes behave differently than their docs say

    Takeaway

    When docs don’t exist (or lie), let the browser show you the truth. Playwright captures the exact HTTP conversation — just replicate it in your code.

  • Run the Command, Then Build What It Needs

    Run the Command, Then Build What It Needs

    When integrating with a complex third-party API, don’t try to architect everything upfront. Start by running the integration point and let the errors guide you.

    The Anti-Pattern

    You read the API docs (if they exist). You design your data models. You write adapters, mappers, and DTOs. Then you finally make your first API call and… nothing works as documented.

    The Better Way

    Run the command first. Let it fail. Each error tells you exactly what to build next:

    # Step 1: Try the API call
    php artisan integration:sync
    
    # Error: "Class ApiClient not found"
    # → Build the client
    
    # Error: "Missing authentication"  
    # → Add the auth flow
    
    # Error: "Cannot map response to DTO"
    # → Build the DTO from the actual response

    Why This Works

    Errors are free documentation. Each one tells you the next thing to build — nothing more. You avoid over-engineering, and every line of code you write solves an actual problem.

    Takeaway

    Stop planning. Start running. Let errors drive your implementation order. You’ll ship faster and build only what you actually need.

  • Google Drive Mounted ≠ Google Drive Synced

    Google Drive Mounted ≠ Google Drive Synced

    Google Drive is mounted. The folder exists. You open a file. It’s empty or throws an error. Welcome to the cloud storage race condition.

    Mounted ≠ Synced

    Cloud storage clients (Google Drive, OneDrive, Dropbox) mount folders immediately on startup. But syncing the actual files? That happens in the background. The folder exists, but the files are stubs waiting to download.

    If your startup script tries to read those files before sync completes, you’ll get random failures.

    The Fix: Wait for Sync

    Check if files are actually synced before using them:

    #!/bin/bash
    FILE="/path/to/cloud-storage/config.json"
    
    while [ ! -s "$FILE" ]; do
        echo "Waiting for $FILE to sync..."
        sleep 2
    done
    
    echo "File synced, proceeding..."

    The -s flag checks if the file exists and has content (not a 0-byte stub).

    Takeaway

    Cloud storage mount operations are instant lies. Always verify files are actually synced before using them in startup scripts. Check for file size, not just existence.

  • Why WSL boot Command Doesn’t Work When systemd=true

    Why WSL boot Command Doesn’t Work When systemd=true

    Enabled systemd=true in WSL2 and suddenly your boot commands stopped working? Yeah, that’s by design. The boot command in wsl.conf doesn’t play nice with systemd.

    Why It Breaks

    When you enable systemd in WSL2, it becomes PID 1. The traditional boot command runs before systemd starts, but systemd remounts everything and resets the environment. Your boot script ran, but systemd wiped it out.

    The Solution: Use systemd Services

    Stop fighting systemd. Use it instead. Create a proper systemd service:

    # /etc/systemd/system/my-startup.service
    [Unit]
    Description=My WSL Startup Script
    After=network.target
    
    [Service]
    Type=oneshot
    ExecStart=/usr/local/bin/my-startup.sh
    RemainAfterExit=yes
    
    [Install]
    WantedBy=multi-user.target

    Enable it: sudo systemctl enable my-startup.service

    Takeaway

    When systemd=true, forget the boot command exists. Create systemd services like you would on any Linux system. It’s more work upfront, but it actually works.